The Premiere Pro timeline is quite agile and allows you to perform the most of editing right there without using many extra tools. One of these handy options Adobe Premiere Pro allows is staking timelines. As you will get to drag and drop everything a lot, stacking timelines is something you can’t imagine comfortable editing without. When you deal with editing long videos or with sequences made of many clips and transitions, you want your timelines to be organized and convenient to use.
Besides, the stacking feature is really convenient when it comes to adding transitions and effects: https://studioplugins.net/product/premiere-transitions.
Not everyone enjoys doing everything using the mouse or touchpad ‒ let’s be frank, keyboard shortcuts make everything easier, and not just for Premiere Pro.
Table of Contents
Let’s see how you can stack timelines in Adobe Premiere Pro step-by-step.
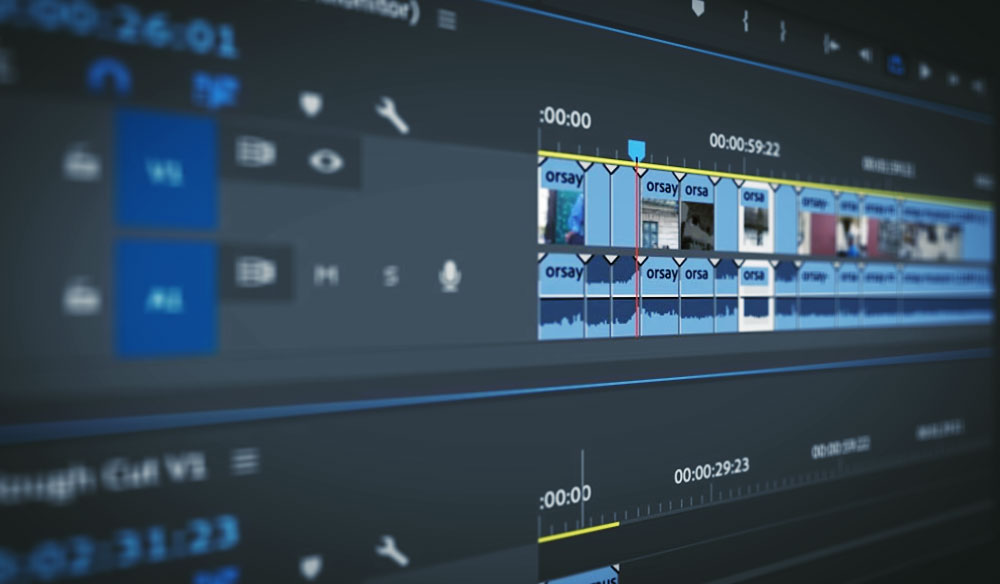
Dragging the edited sequence
Source: pexels.com
So, let’s start with dragging the video sequence. Drag the sequence you want to extract video from to your source monitor. Next, you want to open the source monitor settings – right-click or choose the settings button on the source monitor. Then, choose the intended sequence in the timeline option.
After that, you’ll have the ability to see your sequence opened and your project timeline moved ‒ this is where you will finally use your mouse or touchpad. Now all you have to do now is just to click and drag the sequence on the source monitor screen and drop it over the project timeline. It’s as simple as that!
Actually, the source monitor and its settings are a very powerful tool that can optimize your workflow in many ways, and stacking timelines is one of them.
As you can see, there’s nothing that difficult with stacking your video sequence timelines in Adobe Premiere Pro. Moreover, as you continue your video editing practice, you won’t even notice how all these quick tips become your automatic actions ‒ you’ll get used to using them really quickly. Premiere Pro is known for its interface agility, meaning you can easily adjust the timeline and other tabs to your liking ‒ this ability provides you with perfect workflow optimization.
Using Track Targeting
Track targeting allows you to quickly and easily toggle the visibility of specific layers in your timeline. To use track targeting, simply click on the name of the layer that you want to target and hold down the “alt” key. This will highlight all of the layers that are associated with that track, allowing you to quickly and easily hide or show them as needed.
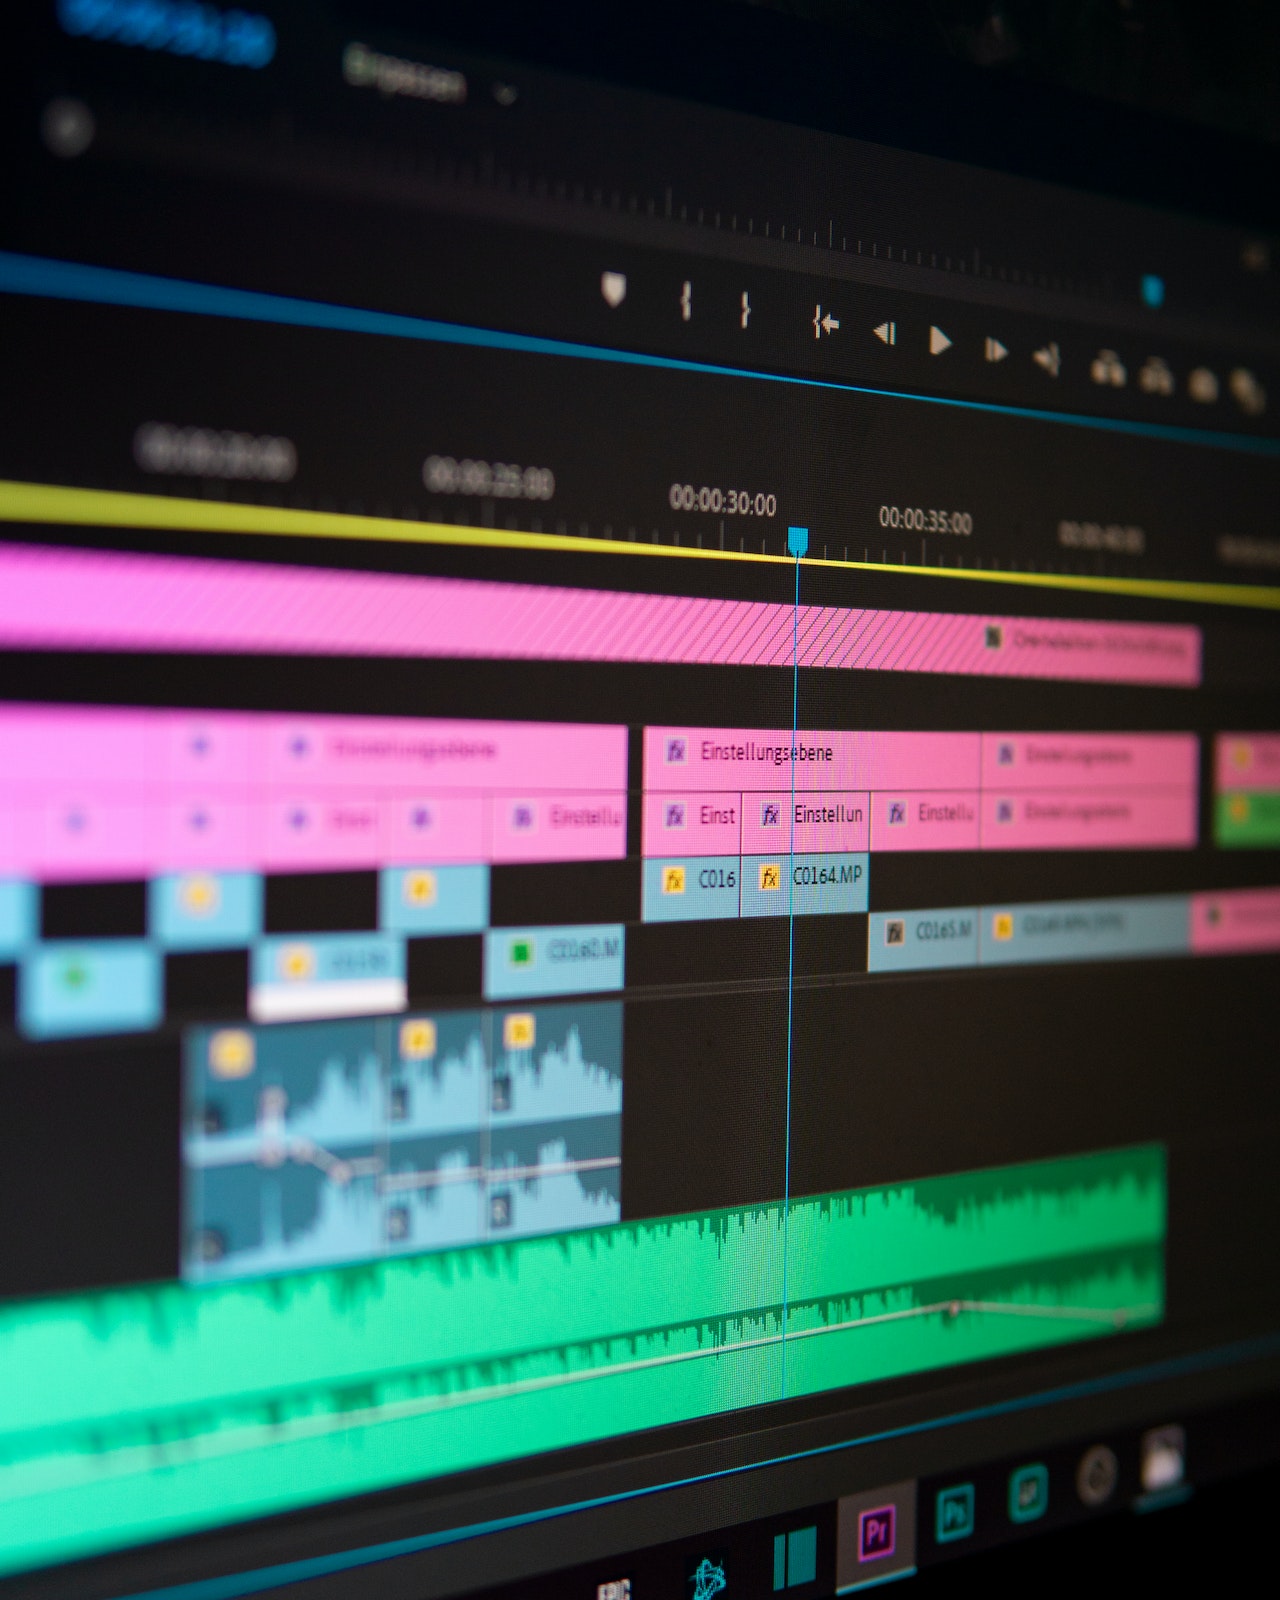
Organizing Layers

Source: digitaltravelcouple.com
Once you have your layers set up and organized, you can use the “nesting” feature to group them together. Nesting allows you to take multiple layers and group them together into a single layer, making it much easier to manage and organize your content. To nest layers, simply select the layers that you want to group together and then right-click on one of them. From the context menu, select “nest” and the layers will be grouped together as a single unit.
Conclusion
Stacking timelines in Adobe Premiere Pro is a powerful and efficient way to organize and manage multiple layers of video and audio content. By using track targeting, nesting, and other features, you can quickly and easily fine-tune your stack to achieve the desired look and feel. With a little practice, you’ll find that stacking timelines in Premiere Pro is a quick and easy way to improve your editing workflow and produce high-quality videos.