A grease trap plays an important role in the kitchen, but when it comes to cleaning it, things get a bit messy and complicated. Not everybody wants to do this type of a job which is why most people hire a team of professionals to take care of the task for them. However, not always we’re in a position where paying for such a service is a viable option. Nowadays due to the pandemic, a lot of us are in a tight economic situation, so sometimes you have to take things into your own hands.
If you were wondering how to properly clean a grease trap, this is the right place to be. We’ll help you go through the procedure with ease so sit back and relax because it’s time to learn.
Table of Contents
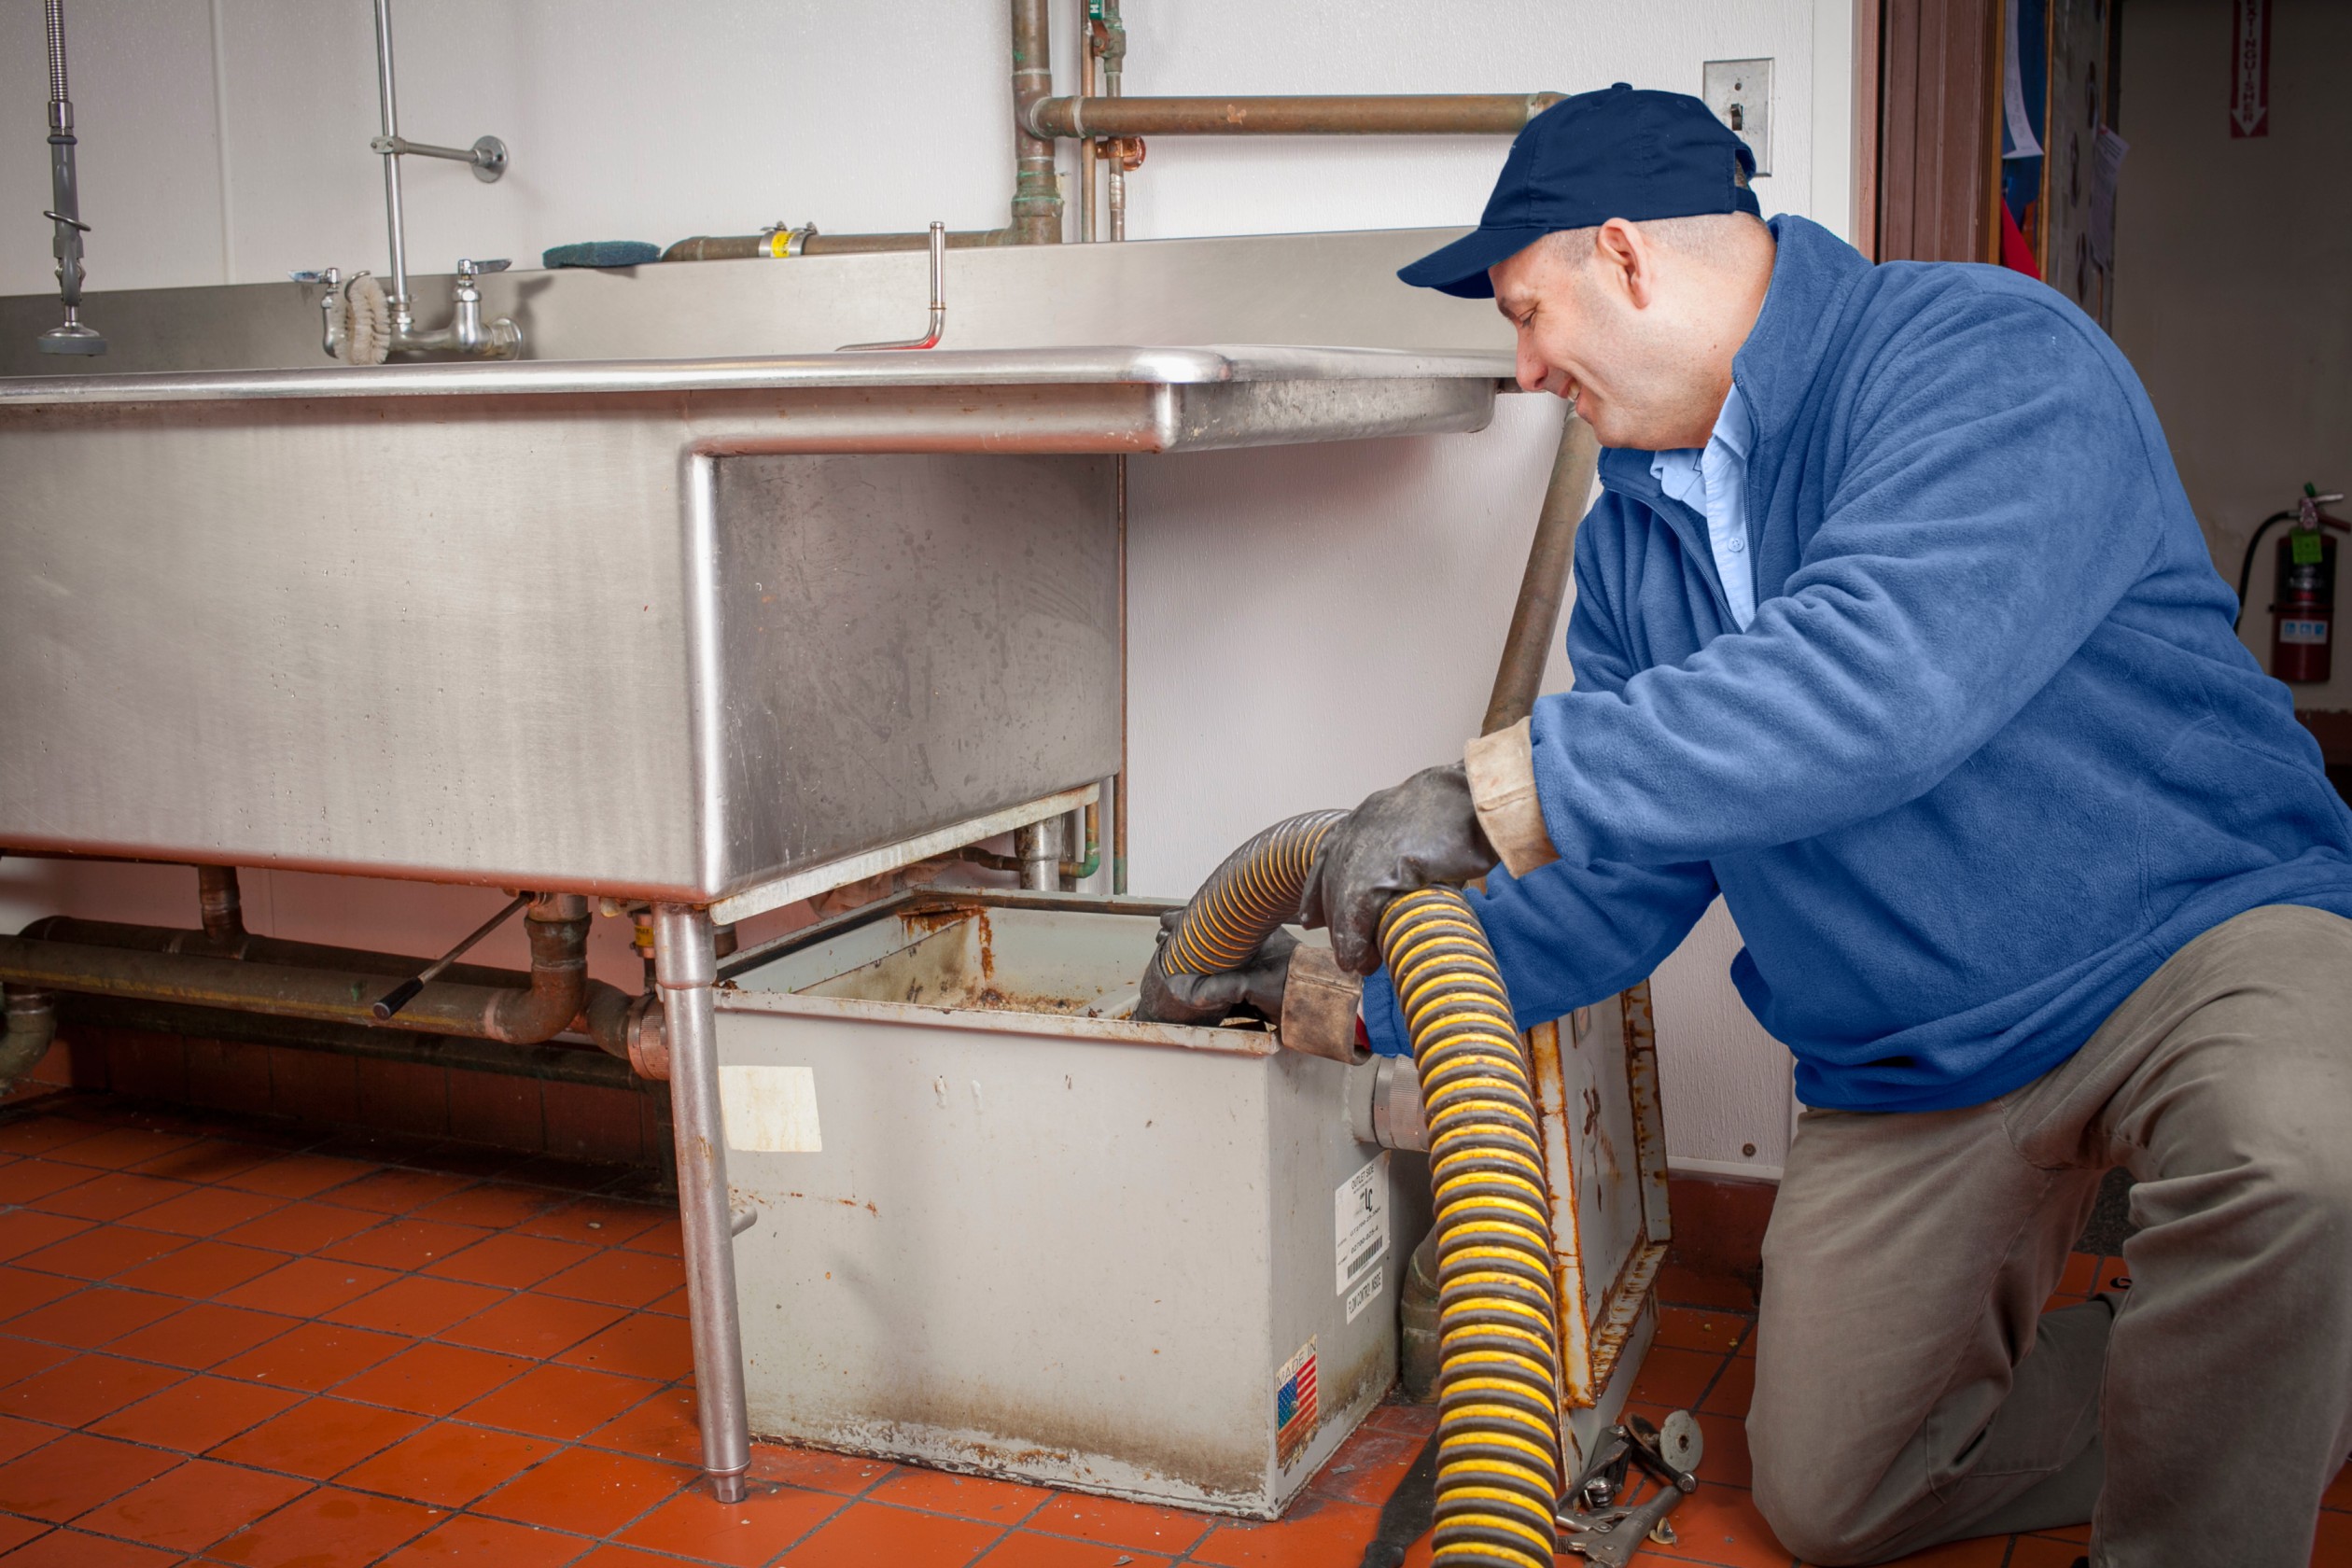
Use the right tool to detach your cover from the grease trap

Source: fotolog.com
You can use any tool you find practical and easy to use, but we, and many others as well, recommend a pry bar. But, although this tool makes you feel really powerful at the moment, be careful not to use too much force because you may end up damaging the gaskets. If you end up damaging the gaskets you’ll have to pay money to replace them, and if it’s tricky finding the right ones, you’ll have to replace the entire grease trap. Be gentle and only use force in case the lid doesn’t instantly open.
Put back everything in an organized matter for later assembly
You will need to disassemble a few things in order to clean them. If you want to go through the assembly with ease later on, it’s best that you organize the components properly. If you can’t remember where something goes, it’s best that you take notes, or even better, take pictures before you take out the parts. That way you’ll know how to properly put everything back together once the time for it comes. Some people choose to draw diagrams of the trap’s interior but this kind of feels like the more complicated choice.
Grab a special measuring stick, or if you don’t have one, just a regular wooden dowel

Source: newnanhomeimprovement.com
If you don’t have any of these you can grab a spoon, but make sure it’s long enough, or a knife or anything else that you don’t mind getting dirty. The point of this step is to make sure exactly how much debris there is in the trap. You need these measures for the pump out report that you’ll get from the EPA (Environmental Protection Agency). For more information, you can take a look at greasetrapjacksonville.com
The next step is where the actual cleaning begins, but we need to start with baby steps and then move on to the hardcore cleaning with chemicals. Let’s take a look.
Grab a bucket and bring it next to the opened trap
This bucket will be used to remove the extra water that’s in the grease trap. This water can be then disposed in the drain, but if it’s filled with a lot of oils and other harmful things that may clog down the drain, it’s better to empty it somewhere else instead. When you have your bucket empty once more, it’s time to start removing the solid waste.
First, begin by collecting it with your bucket and slowly taking it out of the grease trap. Make sure not to drop any on the ground as this stuff is really oily and you’ll have difficulties cleaning it from the floor. When you are done taking everything out of the trap, put it in plastic bags and store it somewhere for now, you’ll get rid of it later on. Remember, you are far from done at this point.
Scraping the larger and sticky chunks from the walls

Source: deuceswildsepticservicend.com
Use anything that you find handy and comfortable for the removal of the larger and sticky chunks from the trap walls. There will be a lot of it stuck to the sides, and some pieces will be a bit difficult to remove at first, but don’t stop trying. After you are done scraping it’s time to vacuum clean. Get a cleaner that’s able to get wet and dirty. Vacuum the solid pieces and everything else that you can. Now begins the so-called “wet cleaning”.
Grab a sponge, some soap or other cleaning chemicals, and water
Just a regular soap with warm water is enough to get the job done, but chemicals make the entire process so much easier. Put that sponge to work until the entire bottom part and the sides of the trap are completely clean and shiny. Rinse two or three times just to be sure that nothing out of the chemicals is still present in the container. Leave it out to dry and come back in an hour. Use a vacuum cleaner once more just to make sure that no debris is in there or any piece of the sponge, since the sponge can start decomposing due to you pressing too hard with your hands. Now it’s time to assemble.
Assemble the container

Source: affordarooterplumbing.com
Use the previous screenshots and notes to remember which part goes where. After that, it’s time to start assembling. When you’re done with it you can place back the grease trap where it needs to be and file the report which we mentioned earlier. If you notice that the area around your grease trap is flooded after this procedure, it means that you didn’t close the lid properly, or something in the assembly process went wrong. Double-check this as most people make this mistake during their first grease trap cleaning procedure.
Conclusion
In today’s article, we explained how to properly clean a grease trap from start to finish. If you decide to do this on your own, this article will be of great help to you. If you find it too difficult to do, maybe hiring a professional cleaning team is a better option for you. Best of luck and thank you for reading.