Epoxy resin is well-known for its versatility and strong adhesive properties, making it a popular choice for various applications.
While commonly used on wood, epoxy resin can also be effectively applied to metal surfaces.
However, achieving a durable and lasting finish requires specific techniques and considerations. In this guide, we’ll explore what you need to know about applying epoxy resin on metal.
Table of Contents
1. Choosing the Right Epoxy Resin
Not all epoxy resins are created equal, and selecting the right type is crucial for successful application on metal. Look for an epoxy resin that is specifically formulated for metal surfaces, offering strong adhesion and durability. It’s also beneficial to choose a resin with UV resistance if the metal object will be exposed to sunlight, as this prevents yellowing and degradation over time.
2. Preparing the Metal Surface

Source: chemresearchco.com
Proper surface preparation is essential for ensuring that the epoxy resin adheres well to the metal. Start by cleaning the metal thoroughly to remove any dirt, grease, or oils. Use a degreasing agent or a mixture of water and detergent, followed by rinsing with clean water. Dry the surface completely before proceeding.
Next, sand the metal surface with fine-grit sandpaper (120-220 grit) to create a rough texture. This sanding process helps the epoxy resin to grip the metal better. After sanding, clean the surface again to remove any dust and debris.
3. Priming the Metal
Applying a primer is a key step when working with metal. A good quality metal primer enhances the adhesion of the epoxy resin and provides an additional layer of protection against corrosion. Choose a primer that is compatible with both the metal type and the epoxy resin. Apply the primer in a thin, even coat and allow it to dry according to the manufacturer’s instructions.
4. Mixing the Epoxy Resin

Source: youtube.com
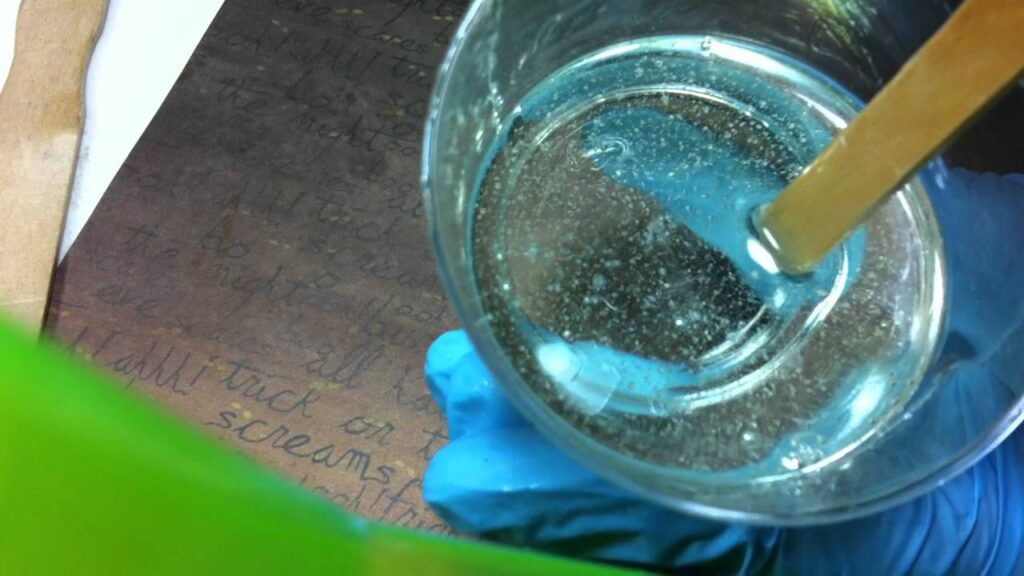
Accurate mixing of the epoxy resin and hardener is critical. Follow the manufacturer’s instructions precisely, ensuring the correct ratio of resin to hardener. Mix thoroughly, scraping the sides and bottom of the mixing container to achieve a consistent blend. Proper mixing is essential to avoid issues with curing and adhesion.
5. Applying the Epoxy Resin
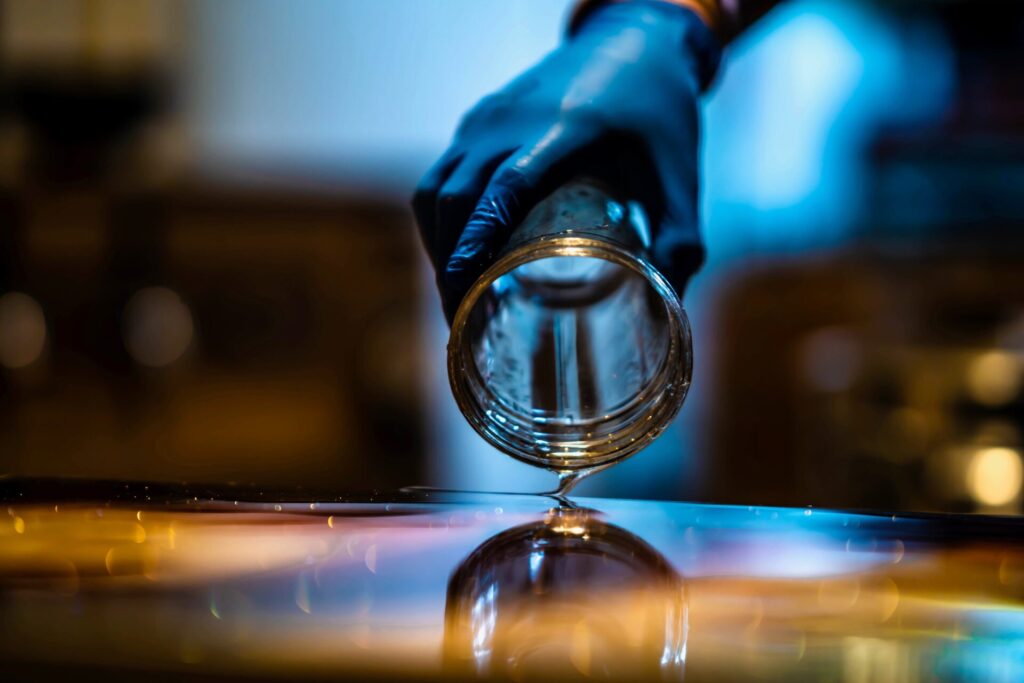
When applying epoxy resin to metal, you can use a brush, roller, or pouring method, depending on the size and shape of the metal object. For large, flat surfaces, pouring and spreading with a plastic spreader may be most effective. For smaller or irregularly shaped objects, a brush or roller can provide more control.
Apply the epoxy resin in thin, even coats to avoid drips and runs. If a thicker coating is desired, multiple layers can be applied. Allow each layer to cure fully before applying the next one.
6. Eliminating Bubbles

Source: avantes.com
Bubbles can form in the epoxy resin during the mixing and application process. To remove them, use a heat gun or a propane torch, moving it in a sweeping motion over the resin surface. The heat will cause the bubbles to rise and pop. Be careful not to overheat the resin, as this can lead to other issues such as uneven curing or surface damage.
7. Curing and Finishing
Allow the epoxy resin to cure completely according to the manufacturer’s instructions. Curing times can vary depending on the resin formulation and environmental conditions. Once cured, inspect the surface for any imperfections. If necessary, sand the cured resin with fine-grit sandpaper and apply additional coats.
For a high-gloss finish, you can polish the cured epoxy resin. Use progressively finer grits of sandpaper, followed by a polishing compound or buffing wheel to achieve a smooth, glossy surface.
By following these guidelines, you can successfully apply epoxy resin to metal surfaces, creating a durable and attractive finish. Whether for functional or decorative purposes, epoxy resin can enhance the longevity and appearance of metal objects.


