What does it take to design your own circuit board prototype? Well, first of all, you’ll need time, perseverance and a solid set of skills and knowledge. To be fair, designing a PCB prototype from scratch is by no means an easy feat – you’ll have to work hard at it, but in the end, the results will be more than rewarding and satisfying.
If you we’re lead to believe that you need an engineering degree or years of experience, don’t worry – you don’t. Nowadays, there is more than enough information online for anyone to become good at anything they choose. Learning how to do it will not be easy, that’s understandable. However, with the right resources, necessary software and a little bit of hard work and effort – you can be certain that you’ll be able to build your first PCB prototype.
Also, you don’t have to do it alone. There are businesses and PCB manufacturers that offer partnerships and collaboration to help aspiring PCB designers and builders to accomplish their goals.
Now, let’s get to the fun part. If you’re interested in creating your first prototype but are not quite sure where or how to start – we’ve got you covered. Here are some things to keep in mind when building your first PCB prototype.
Table of Contents
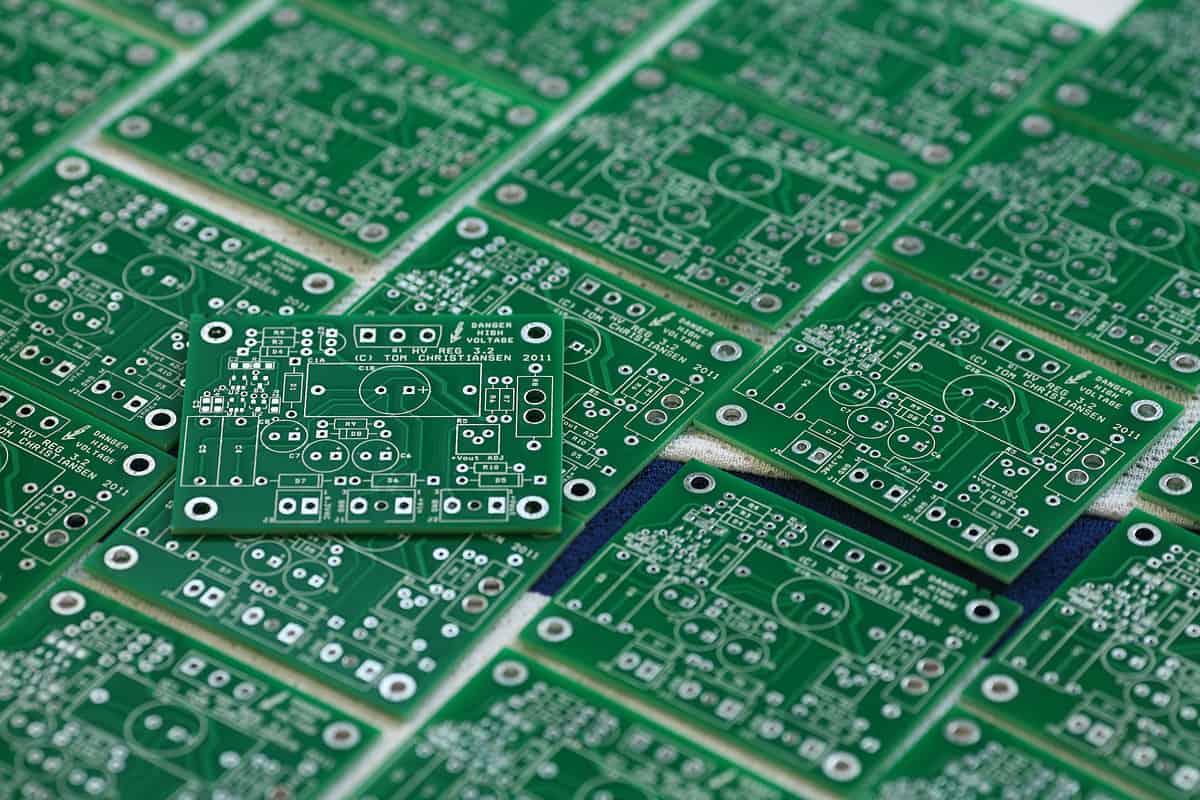
1. The Design
img source: 4pcb.com
If you wish to start from scratch, as we assume you do, you’ll have to start by designing the board. This is the first step of your journey and some would say the most important one. Forget about the technicalities right now and focus solely on designing a prototype that you’re about to build.
To begin designing, first, you have to understand what it takes to design a circuit board. This process is usually done in seven steps, in the following order.
- Creating a Schematic & Setup
- Linking the Schematic to the Board
- Defining Board and Layer Stacks
- Deciding on Component Location
- Placing Drill Holes
- Routing
- Running a DRC (Verifying PCB Layout)
By following these ‘simple’ steps you can be certain you’ll have a solid, fundamental design for your prototype.
2. Selecting the Components
Once the design is completed, it’s time to move on to the technical side of things. The next thing you have to keep in mind is that you’ll have to select which electronic components you will need for your circuit board. Some of the components you might need are microchips, connectors, sensors, displays or any other required for a fully functioning PCB.
Once you decide on the components, you’ll have to source them out, which is arguably the easiest part of the process. There are many online shops that deal in these electronic parts and all you have to do is place your order.
3. Creating The Schematic

img source: youtube.com
One thing to keep in mind is, creating a schematic or a diagram of your electronic design will determine how your PCB prototype will operate, therefore, unless you have some experience or enough time on your hands to fully understand how to do this – you might consider hiring a design engineer to do it for you.
Keep in mind that you’ll need the schematic circuit design for each block of your system since you want to show how each component is connected and also provide clear guidelines for eventual printing of the PCB.
4. PCB Product Layout Design
The good thing about layout design is that you’ll probably be able to do it using the same software you used for designing the schematic. The layout design is about creating a layout for components that perfectly match the design specifications and is in sync with the schematic you’ve designed. Naturally, layouts will differ in complexity and time to make, depending on the size, complexity and power consumption of a circuit board in question.
5. Acquiring the Bill of Materials
img source: wellpcb.com
According to www.pcbonline.com, another important step towards finalizing your PCB prototype is acquiring a Bill of Materials (BoM). This will be made upon finalizing the PCB product layout, by the software you used to design a schematic and product layout. You won’t don’t have to worry too much about this one, as in most cases, this is automatically done by the design software. What BoM is, is a list of numbers, specs and quantities of each individual part on your circuit board. This step will be particularly useful once the time for mass production comes as it will give you an exact quote for manufacturing parts needed for the production of the circuit board.
6. Making a Virtual Prototype into a Physical One
Once you’re pretty much finished with the design part of the creating process, it’s time to transfer your 3D model into a physical circuit board. With the help of the design software you’ve used to complete the virtual prototype, you’ll create a layout format that will be used by the manufacturing company you choose to produce your first edition of the PCB.
We say first edition, because in most cases, even the experienced engineers usually have to do tweak a few things here and there once they receive the prototype from the manufacturer, which brings us to our next point.
7. Testing
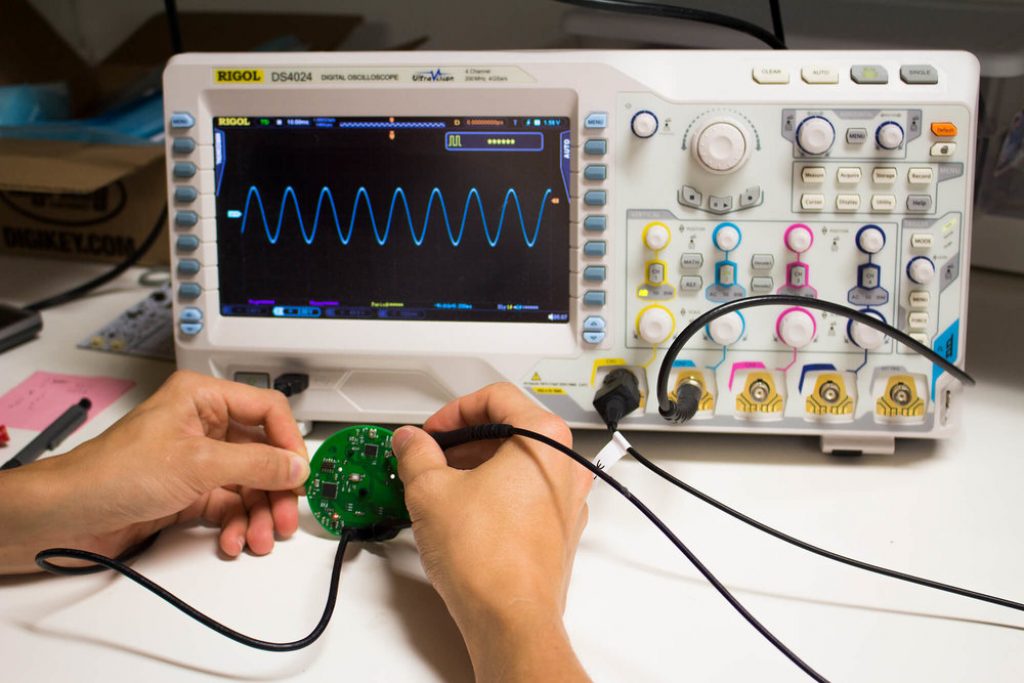
img source: squarespace-cdn.com
Don’t be surprised or discouraged if the first iteration of your PCB does not perform the way you expected it to. That happens all the time, especially to those that are new to this. It’s a process of trial and error and it might take you a few tries to get things right, which is why testing is the final step before mass production. You have to find the bugs and problems and solve them before you can move on and apply for a patent.
8. Finding The Right Manufacturer
The final thing to keep in mind is – all of your hard work and effort can be destroyed if you don’t find a reliable and high-quality manufacturer. Whether you’re looking for a partner right from the start or just a manufacturing company once you’re done with the prototype – you must always try and find the best ones out there.
As you can see, building your first PCB prototype will be a long journey with several obstacles along the way. The best advice we can give you is to take your time and be thorough throughout the whole process because that’s the only way you can expect great results in the end.