Painting over stucco can refresh the look of your home, but not if there are noticeable cracks or holes. Repairing these issues before picking up the paintbrush is essential for a polished finish. This guide walks you through a step-by-step process of repairing stucco cracks before painting.
Table of Contents
Understanding Stucco Cracks

Source: esec-stucco.com
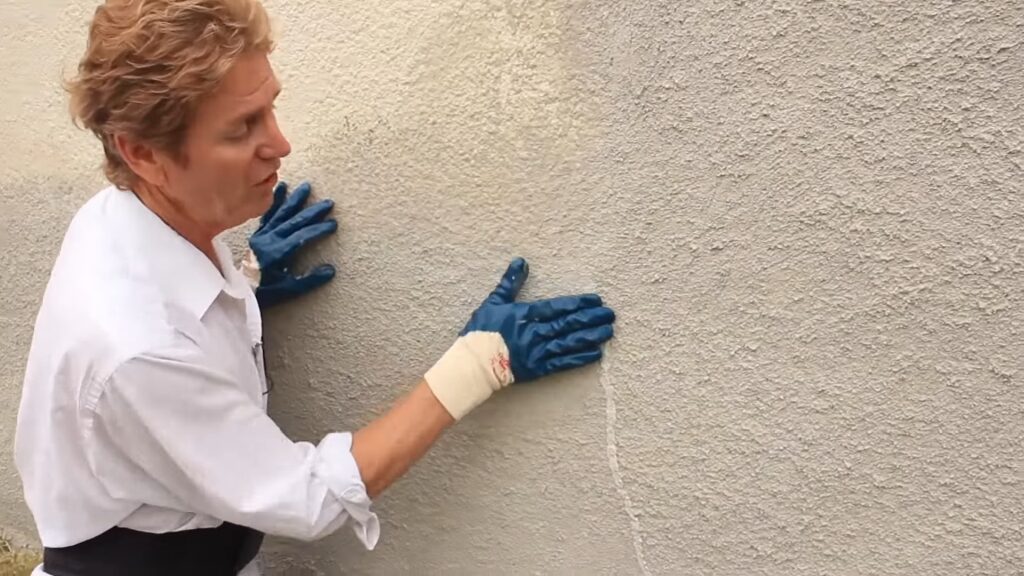
Stucco is known for its durability but over time, small “hairline” cracks can appear. It’s a common issue but one that’s easy for homeowners to address. Sometimes, minor crevasses can be filled in with paint but for more pronounced damages, a more hands-on approach is needed.
Identifying the Crack Size
The first step in the repair process is identifying the size of the crack, as this will determine the materials and methods used for repair. Small damage, typically no wider than a dime, requires less prep work compared to larger cracks or holes.
Gathering Necessary Materials
Gather the necessary materials for the repair. Common materials include an acrylic exterior caulk, a stiff paint brush, and a putty knife or a scratch awl for larger damages.
Consulting a Professional
If you observe larger cracks or a multitude of them, it could be an indication of a more serious issue. In such cases, consulting a professional stucco contractor is advisable to troubleshoot any underlying problems before proceeding with repairs.
Repairing Small Cracks
Repairing small cracks in stucco is a manageable task, often requiring a simple stucco repair procedure. It involves cleaning the area, filling the rupture with acrylic exterior caulk, and allowing it to dry before painting over the stucco.
Cleaning the Area
Cleaning the area is a crucial first step in repairing stucco cracks. It involves removing dirt and loose debris around the crack using a stiff paint brush, ensuring a clean surface for the subsequent application of repair materials.
Filling the Crack
Fill the crack with an acrylic exterior caulk. If the damage is up to 1/4-in. wide, use a sanded acrylic exterior caulk and smooth it out with your finger.
Finishing Up
Finishing up entails allowing the repair material to dry as per the manufacturer’s instructions, followed by painting over the stucco to blend the repaired area with the surrounding surface, achieving a polished, cohesive look for your home’s exterior.
Addressing Larger Cracks or Small Holes
Addressing larger cracks or small holes in stucco requires more preparation. It involves cleaning the area, applying a premixed stucco patching material, and adding texture to match the existing stucco. Once dried, the area is ready for painting.
Cleaning and Prepping the Area
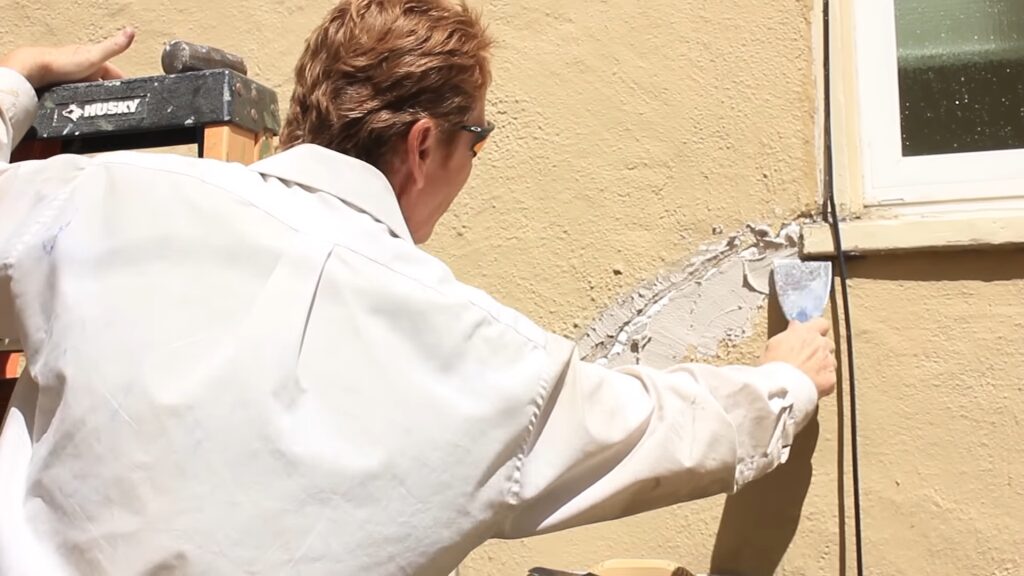
Cleaning and prepping the area is essential for successful stucco crack repair. This step involves removing loose debris from the crack or hole using a putty knife or scratch awl, creating a clean, smooth surface for the patching material.
Applying Stucco Patch Material
Apply a premixed stucco patching material with a putty knife, pressing the patching material into the damaged area. If needed, apply stucco patch material in 1/4″ layers until it is flush with the existing surface.
Adding Texture and Finishing Up
Use a wire-bristled brush to add texture to the patch to match the existing stucco. Once the patching material has dried, follow up with painting.
Conclusion

Source: jlconline.com
This step-by-step guide provides a clear blueprint for repairing stucco cracks, ensuring a smooth, aesthetically pleasing finish when painting.

