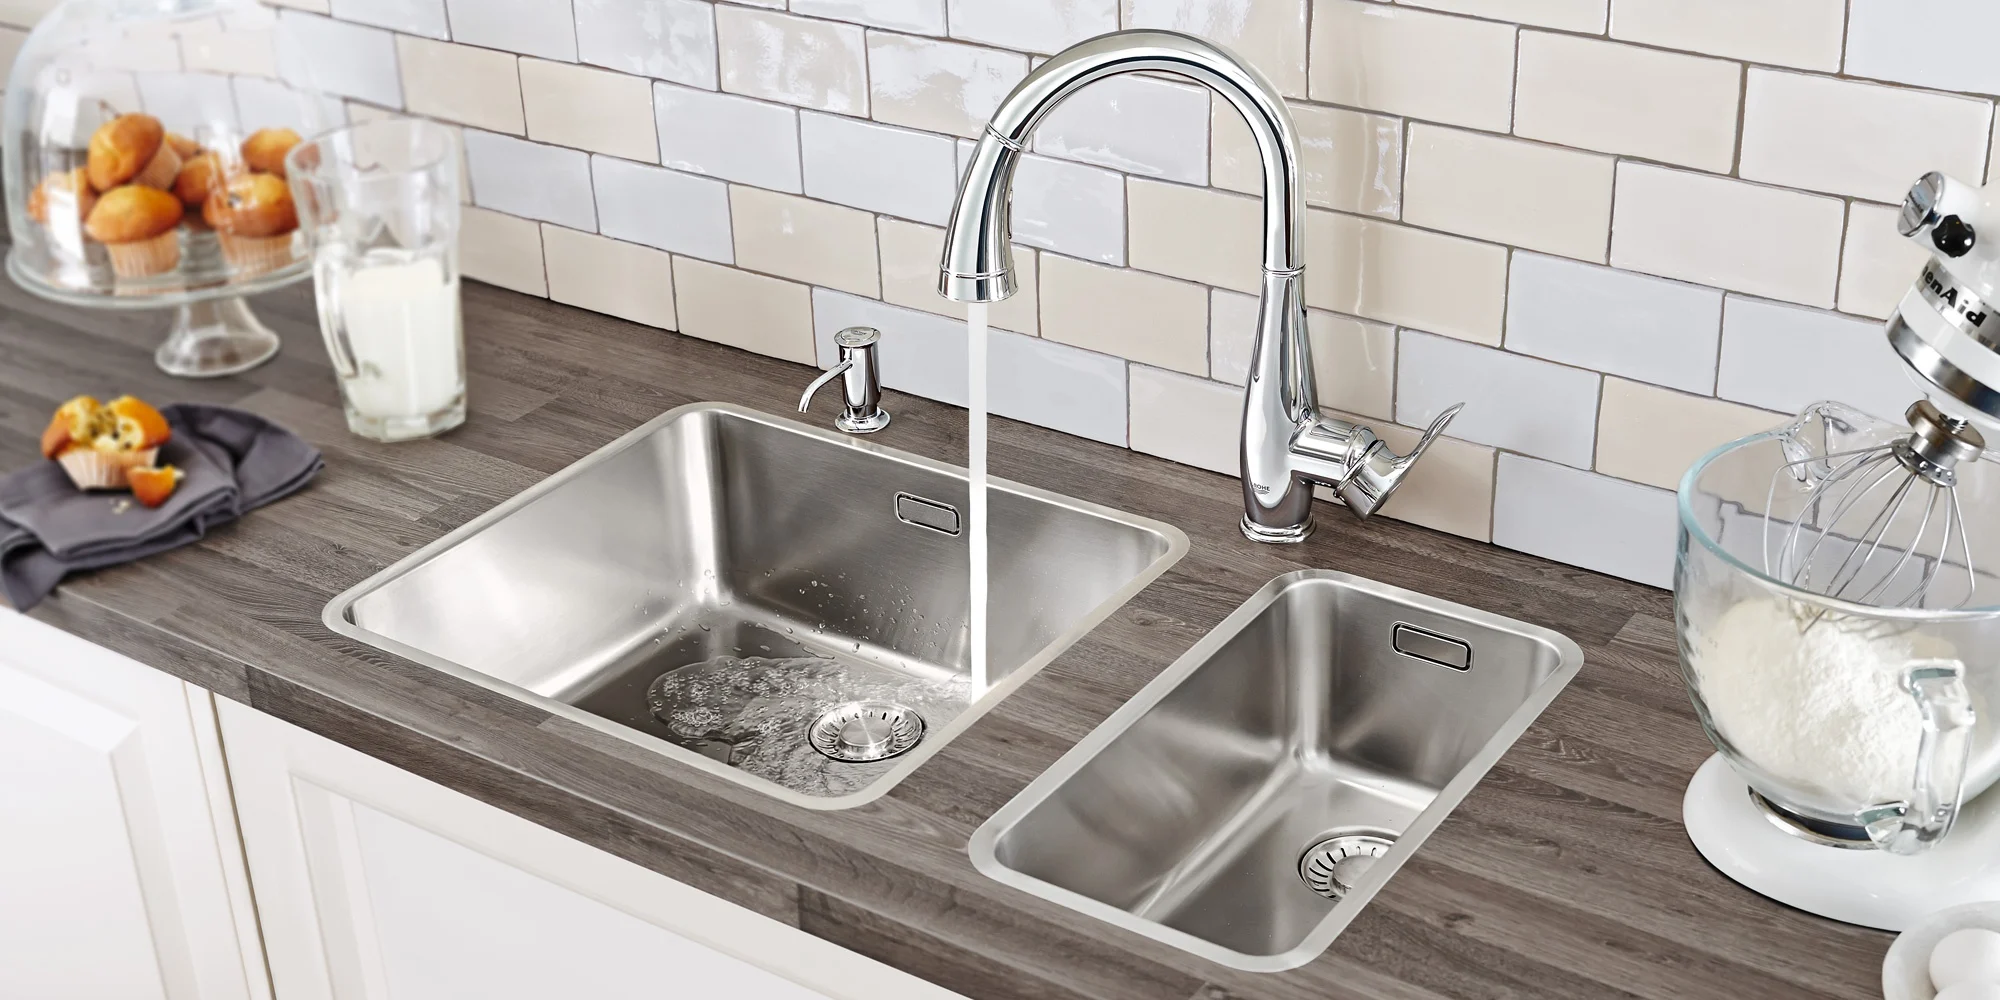
So you’re thinking of giving the kitchen a brand fresh look? If so, installing a renewed sink is the most suitable approach to do it. But don’t limit yourself to only it. You may also get a faucet and countertop to jazz everything for far less amount.
If you’re wondering whether getting this work done is too tedious, then let us clarify that installing a new sink and faucet is easy. It is something you can do by yourself, thanks to the new fittings that can easily screw and glue things together. If you need any help, you can always get in touch with the professionals.
If it is your first time inaugurating it in the kitchen, it might cost you around $50 to $300. But the cost relies on the dimensions and the style of item you are installing. And it may take you 4 to 6 hours.
Table of Contents
How Difficult is it to Lodge a Fresh Kitchen Sink?
Source: unsplash.com
As said earlier, establishing a new item by yourself is an easy task. But have a precise blueprint of the sink. The treacherous part of the procedure is joining the drain with the debris area. It is a primary step that you must pay attention to do the work done properly.
We suggest you work with a tailpiece and move your way downwards. It is the point at which a swivel P-trap and a hitch adapter make their keep. Whether you want it to lurch horizontally or vertically, is up to you.
Although performing this task is not tough, the difficulty level also depends on how you carry out the procedure. If the process is adhered to, one can do anything without spending thousands. So, before going to the nearest shop to purchase the necessary items, we suggest you drop a sketch of the item you wish to have.
The most vital thing is noting the widths of the rear and the debris line to not waste money on buying something you do not need.
The Procedure of Fixing a Fresh Sink in Your Kitchen:
1. Invest in the Right Sink
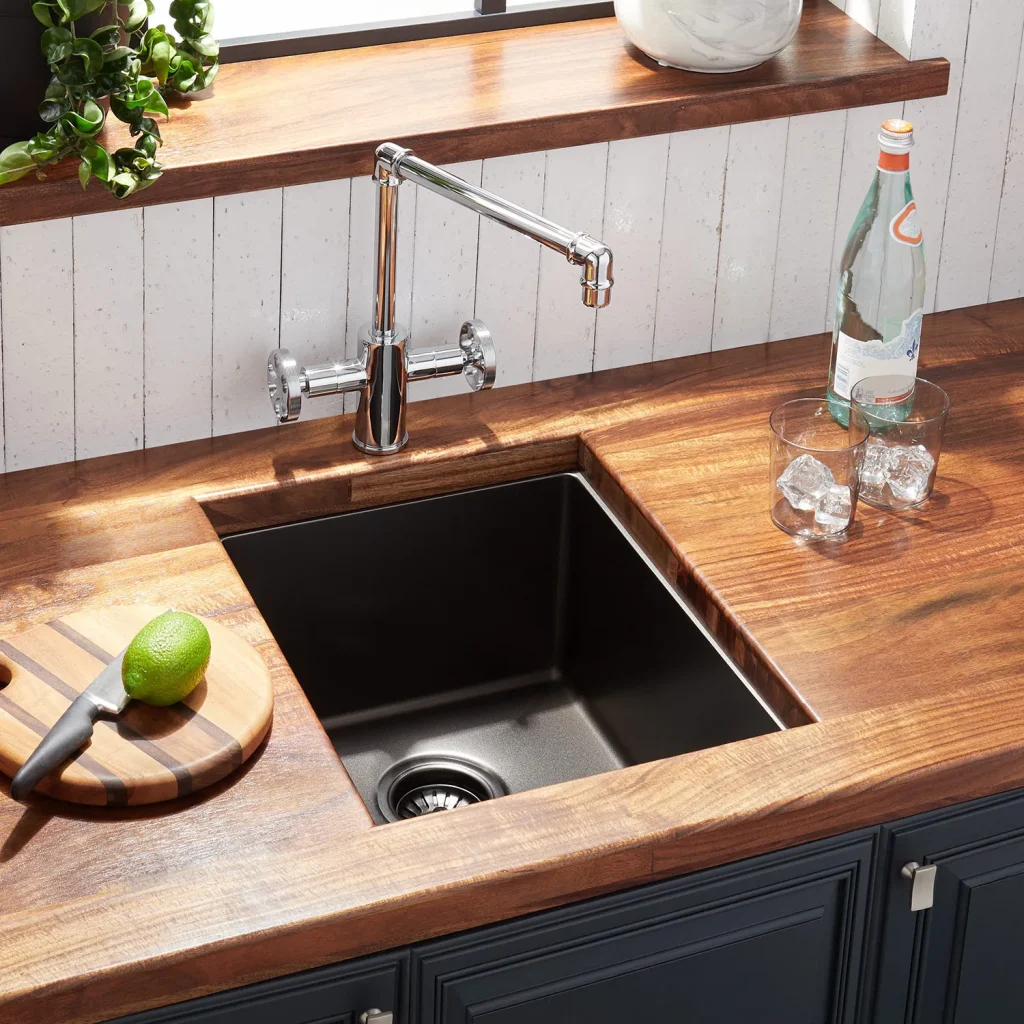
Source: signaturehardware.com
Before visiting the shop to purchase a fresh sink, measure and note the design of the previous one to invest in the one that suits your existing countertop. Although you may go for a larger one compared to the hole, it will consume a lot of time and energy to widen the hole.
Besides, ensure to purchase the items before working. You can prepare a list of the things and consider whether you wish to invest in a cast-iron sink or not because inaugurating it is not a simple task.
2. Sweep the Sink Cabinet
The next step is cleaning the cabinet before replacing it to ensure the area is clear of dirt. To ensure this, crawl into the area with a torch. Find the pins to attach the sink and rim to the countertop. Since it is crucial to perform the task as smoothly as possible, you must remember to dispose of and cut off the supplies and drain plumbing.
3. Get rid of the Old Sink
One may perform the step by themselves or take help from someone. To get rid of the previous one, hold the fresh one from above and force the old one from below. Since the work is not straightforward, one may need to employ a putty blade and move it near the edge.
It will help relax the former caulk seal to make it simpler to get rid of the old sink. Once you are done disposing of the previous one, test-fit the fresh one to ensure it is all right.
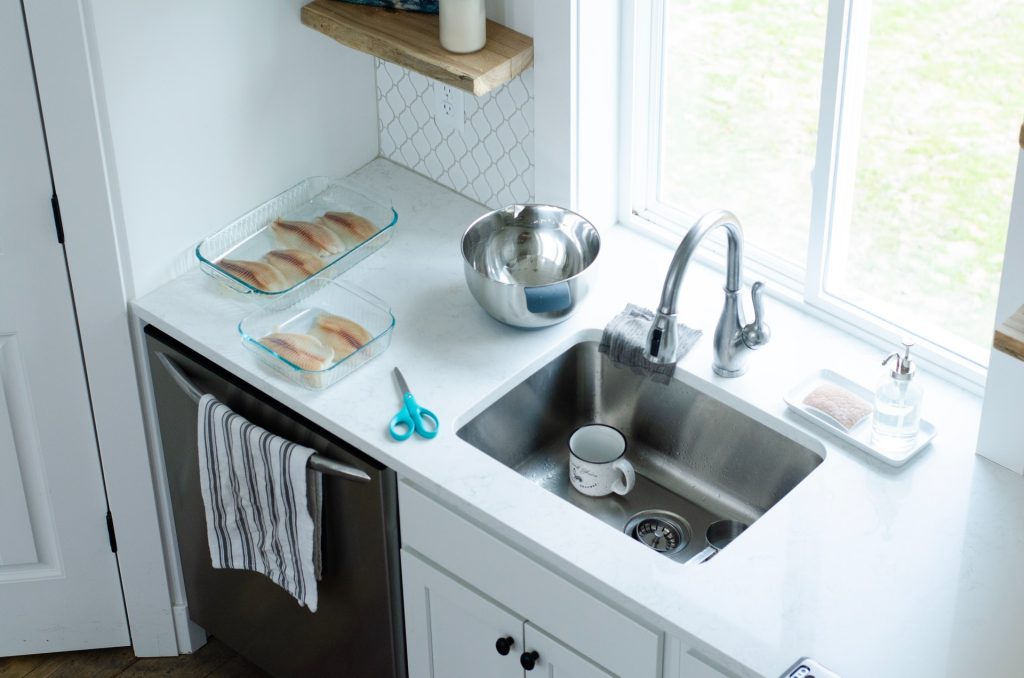
4. Introduce the Fresh Faucet

Source: unsplash.com
After taking out the previous sink, sweep the latest one using a cloth, and fix the faucet. If you are fixing the one made up of stainless steel, it may smell horrible. So, scrub it thoroughly.
Since the mounting nuts are available at the phase, one may fix the faucet and other items with less trouble. However, they require a high-quality putty to keep the link water-tight. So, before establishing the faucet, roll the putty by warming it in your hands and giving it the shape of a rope.
You can apply putty near the base of the faucet and additional items to ensure stability.
5. Connect the Hot Water Supply
While installing a new kitchen sink, you might consider evaluating your hot water system to ensure it’s functioning properly. If you’re facing any issues, especially with inconsistent or cold water, it’s a good time to address them. If you’re dealing with inconsistent water temperatures, it’s worth considering professional hot water Adelaide services (if you are in this area) to ensure a steady supply of hot water for your household.It’s important to have a steady supply of hot water, especially during sink installation when testing both cold and hot water functionality. Make sure to inspect for leaks and ensure all connections are in good shape to avoid future complications.
6. Cover Caulk Underneath Rim
After cleaning the counter area near the hole, apply a little caulk around ½ inch far from the outset with a gun. It is vital to use caulk to retrain the forming of bacteria and mold. When you’ve placed the fresh sink in its area, apply some caulk in between to hold it in position and establish a watertight fence to hold the moisture.
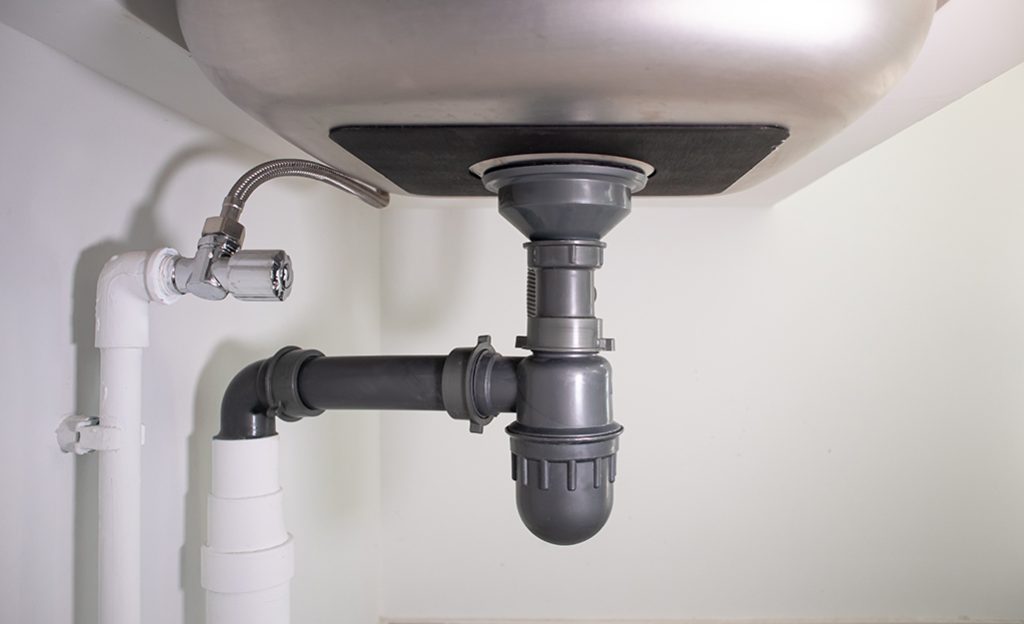
7. Fix the Tailpipe and the Ditch
When you are done following the previous steps, fix the drain and tailpipe. You may apply the caulk near the basket strainer and place it in the ditch area. You must force the stopper on top of the threaded portion of the ditch and stiffen the bolts.
The next step is forcing the tailpiece into the ditch, ensuring its end looks skyward. You may handscrew the nuts into the threaded side of the line. Line the tailpiece using a ditch line. Tighten all the nuts after forming the connections.
8. Connect Supply Hoses to Pipes
Source: homedepot.com
The final step is connecting the faucet supply pipes with the valves below the sink using a crescent wrench. If the supply hoses are flexible, we suggest not using the previous gaskets because rubber gaskets stiffen with time. So, they don’t seal anything properly.
After you are sure to follow all the above steps, the final one is checking the connections for possible leaks. You may click here to find reliable and affordable plumbers to install your kitchen sink fast.
Final Words
We hope the above steps give you the impression that installing a kitchen sink is not a difficult task. It is a quick way of giving a kitchen a new look by keeping the potential installation issues in check.