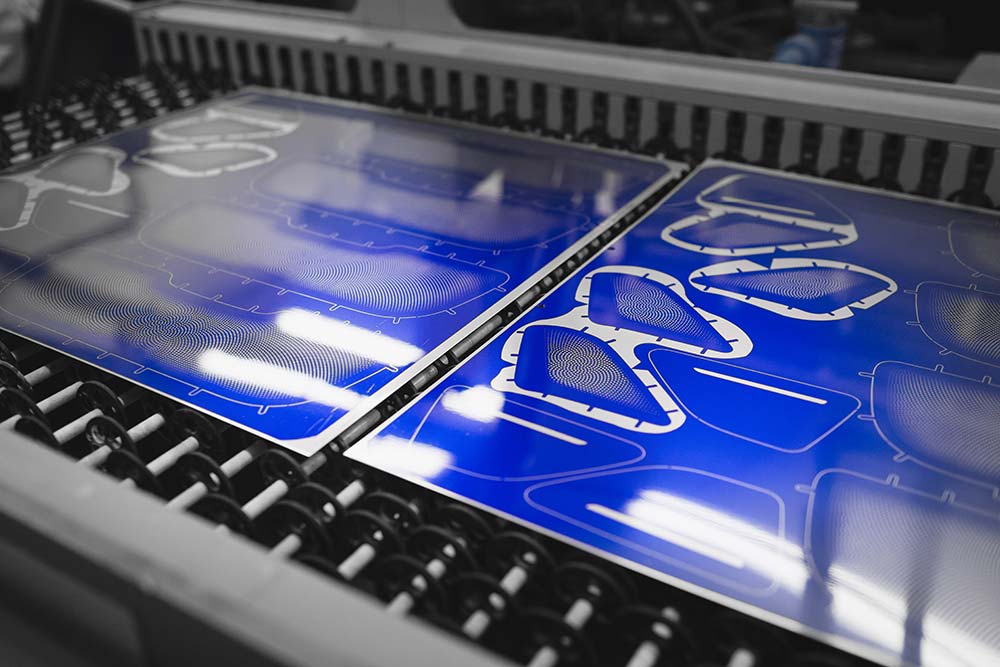
Chemical etching is a manufacturing process that provides us with our desired metallic shapes. To put it in simple words, this is a sort of cutting where specific chemicals at specific temperatures are used to get the desired shape and structure of a metal. Temperature-regulated chemicals are sprayed on the metal sheet. This spray removes the specific areas of the sheet. Thus, you end up getting your desired shape, size, and thickness.
In addition to this, the process is not limited to one industry. Therefore, you will find its application in almost all industries where there is a need. Some of the common things that are made through this process include antennas, lead frames, flat springs, and filters.
So if you are an engineer and you want to learn about the guidelines. Or you are interested in getting to know about the comparison between chemical etching and other processes. If you are just curious about other information related to chemical etching, you can get it all from metaletching.com. There you will find all the important information related to the process, its benefits, and comparison with other processes. In addition to this, you can also upload your design to check whether it can undergo chemical etching or not. And you can choose to talk to an engineer to know about the expert suggestion.
Table of Contents
Chemicals involved in the process

Source: unsplash.com
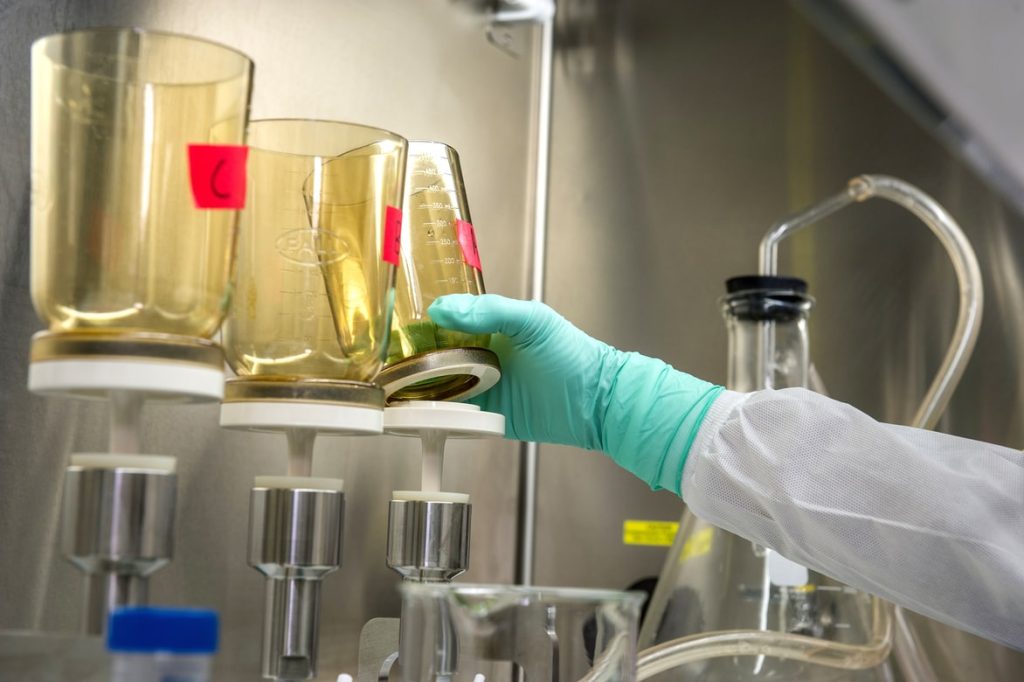
The most common chemical that we use for chemical etching is Ferric Chloride. Furthermore, it is safe to use and is also recyclable so you can reuse it. In addition to this, it can be regenerated. Therefore, it is excessively used for etching.
Besides, there are some chemicals (nitric acid) that are used for alloys and specialist metals.
Metals that you can etch
The metals that you can etch through this process include steel and stainless steel, aluminum, copper, and nickel. It also works best for titanium and its alloys.
So if you are thinking about whether this technique is better or not, titanium is your answer. It is a metal that is highly resistant to corrosion. Moreover, you cannot use machines to deal with it.
Things will get hard if you use a machine. Therefore, you are not left with many choices. Therefore, if nothing is working out, you can always use the chemical etching process.
How does it work?

Source: unsplash.com
Chemical etching is not an instant process and it involves a series of steps. So let’s discuss them.
1. Cleaning the metal
The very first step of almost all the processes is cleaning. If you are cutting something or using an etch technique, you will need to clean the metal first. So if there is any oil, grease, contaminants, or residues on the metallic sheet, remove them. You need to make sure that your metallic sheet is free from any sort of contamination.
The presence of contamination will not let the chemical do its job. There will be less adhesion on the surface and therefore, the results will not be the best. There will be defects in the final piece. Thus, you will be compromising on the quality of your final product.
You should ensure cleanliness to the level that you should not even touch the sheet with your hands after cleaning. If you use your bare hands to touch the sheet, there might be oil and sweat because our sweat glands are always working. This will also result in contamination. Therefore, no such touching with bare hands.
2. Lamination
After cleaning, the next step is lamination. In this step, the dry film photoresist will be applied to the surface of the metallic sheet. The photoresist is a film that will protect the areas that we want to keep. Etching chemicals do not work on this film. Therefore, its application is important to get the desired shape.
Furthermore, you will apply this dry film on both sides of the sheet. There are different methods for its application. They include rolling, using water, pressure, or even temperature. Thus, you end up keeping your desired shape protection.
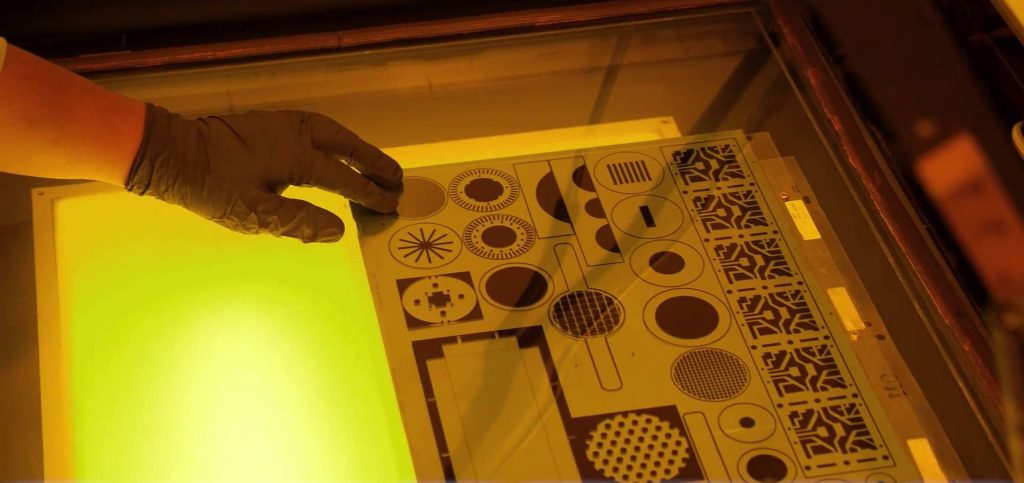
3. Exposure
In this process, your metallic sheet will be exposed to the masks or the negative image of the final product. Mylar and glass are the two types of masks that are available. You can use either one of them. So you will get the mask in order and shine a collimated and high-intensity ultraviolet light from both sides of the mask. This will crosslink the film to areas that are not blocked by this light.
In short, you expose your film to high-intensity light against a mask that gives it a shape.
4. Developing
Source: unsplash.com
So now you have got the marking, now is the time to get your final product. In developing, you will dissolve the bare metal sheet through the chemicals. The laminated surface will remain safe and the bare one will dissolve through the chemical. The remaining part will be the shape that you want.
5. Etching
Now is the time for etching. Your developed product will be sent to the Etch chambers. In these chambers, an etchant will be sprayed on the metallic pieces that will dissolve all the unprotected parts. You need to be very careful during this step as it involves concentration and composition. You need to get the precise temperature and time for etching. The temperature difference and inaccurate timing will affect the final product.
6. Stripping
Source: uweinc.com
After you get your final shape, you need to remove the lamination. This lamination removal is stripping. Of course, you won’t just tear it off from the surface. You will use a different chemical to remove the lamination.
7. Cleaning
The final step is cleaning again. Your product is complete but there will be residues of the different chemicals that you used. Therefore, you need to get rid of them. You need to rinse them off. It can be done with the use of deionized water or through reverse osmosis. Finally, dry the product.