When we’re thinking about things to clean in the house, there are some obvious targets on which we will typically focus our attention. There’s vacuuming the bedrooms, cleaning off the countertops, cleaning the windows, and more. One area, however, that is absolutely a necessity but far too often overlooked is cleaning our lighting. This is particularly important when we’re talking about lighting which is in the kitchen and made of glass. Click here to find other kitchen products and some more ideas.
Think of all the things that can cause a mess in the kitchen. Children often love to help with cooking and we don’t want to discourage that, but they’re not exactly known for leaving things as clean as they found them. Food preparation and serving causes splatters in areas that have seemingly no explanation as to how they happened. Even the act of putting away groceries can spread germs and dirt to areas high and low.

img source: info.org
Having pendant lights in the kitchen can be a tremendous help for providing an even, clean illumination where you need it most. They can also, however, be a magnet for things like food particles, dust, and other grime. Yet for some reason, they’re so rarely cleaned while our carpets and windows get cleaned frequently.
Maybe our hesitation comes from a lack of knowledge and also from worrying about doing damage to the pendants? After all, it’s very simple to vacuum a rug. It’s hard to make mistakes when cleaning the windows. Giving your kitchen pendant light a cleaning, however, can create lots of things to be concerned about. Who wants to damage these beautiful lights that probably weren’t exactly cheap?
When your kitchen pendants are made of glass, it will create even more things to worry about. Glass is easily breakable, and if the shade is thin or oddly shaped, you’re probably going to be confused about how you should go about things. Take a look at Stylish Direct’s kitchen glass pendant lights collection, and you can see just how many different shapes there are out there. Fortunately, though, cleaning this unique type of light is actually a very easy process. Read on and we’ll explain just how you can get the job done without worrying about mistakes.
What You’ll Need to Clean Your Glass Pendant Lights in the Kitchen
img source: s-nbcnews.com
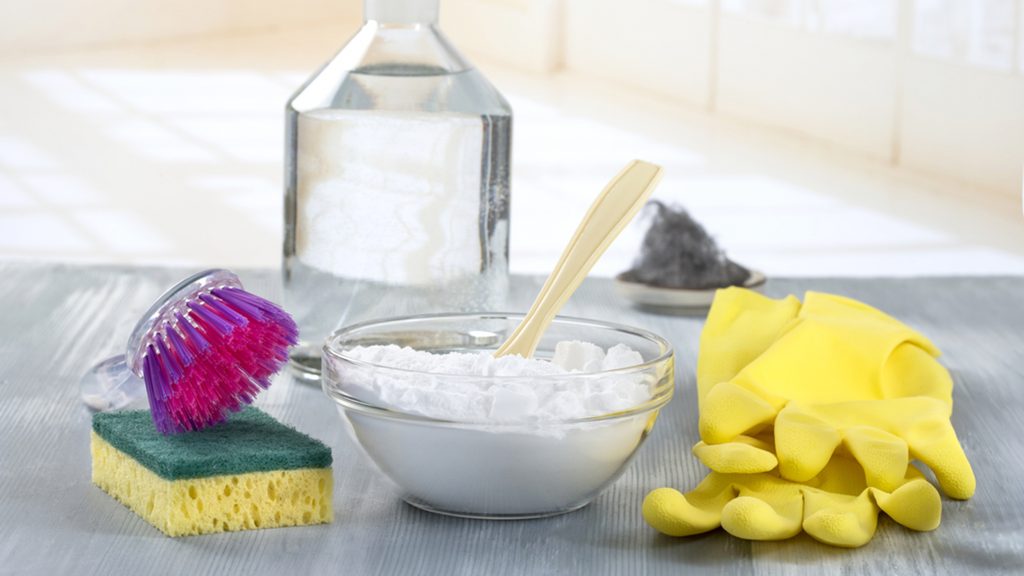
Before you get started, here are the things you’re going to want to have so that you can do the job properly:
- A large bath towel (two or three would be even better)
- A sturdy step ladder
- Baking soda
- Dish soap
- A microfiber duster with an extendable handle (this is optional but good to have)
- Microfiber cloth for wiping
- Rubbing alcohol (this is also optional)
- Q-tips
- Some vinegar
Instructions for Glass Kitchen Pendant Light Cleaning
img source: pinterest.com
Now that you’ve got everything assembled that you’ll need, let’s get down to the cleaning. Don’t worry, it’s a very quick process. Soon, your lights will be looking shiny, clear, and like new!
- Begin by turning off the pendant light. While this might seem like an obvious step, we just need to get this across before we get on to the rest of the directions. Turn the light off, either by flipping off the switch or unplugging it if it’s a plug-in pendant. While flipping the light off at the breaker isn’t required, this is not a bad idea either!
- Layout the bath towel you gathered earlier. Put it directly under the lights which you’re going to be cleaning. If you have multiple bath towels you’re able to use, that’s even better. Create as large a covered area under the lighting as you can. The towels will prevent you from making a new, different mess for you to clean up after finishing the lights because they’ll catch dust and other particles that fly off the glass light shades.
- Remove the bulbs from the pendants. This should obviously be done after the lights have been turned off for a bit so that they’ve had time to cool off. Forget this part of the step, and your hands will not be happy with you! Carefully unscrew the bulbs and place them somewhere safe while you’re cleaning. While this is not an absolutely necessary step, it’s a good idea for ensuring a thorough and complete cleaning. Since you’re going to the trouble of all the other steps, don’t skip this simple one and you’ll make sure the job’s done as best as possible.
- Get your stepladder and position it under the lighting. This is for safety reasons. While it is possible to use a chair or other random things to boost your height, they’re not designed to be stood on and you don’t want yourself or someone else getting injured just for a household cleaning project! Place the ladder sturdily under your lights. If you are cleaning kitchen island lights that are long and linear, start on one side, complete your cleaning on that side and then move the ladder before cleaning the rest of your fixtures.
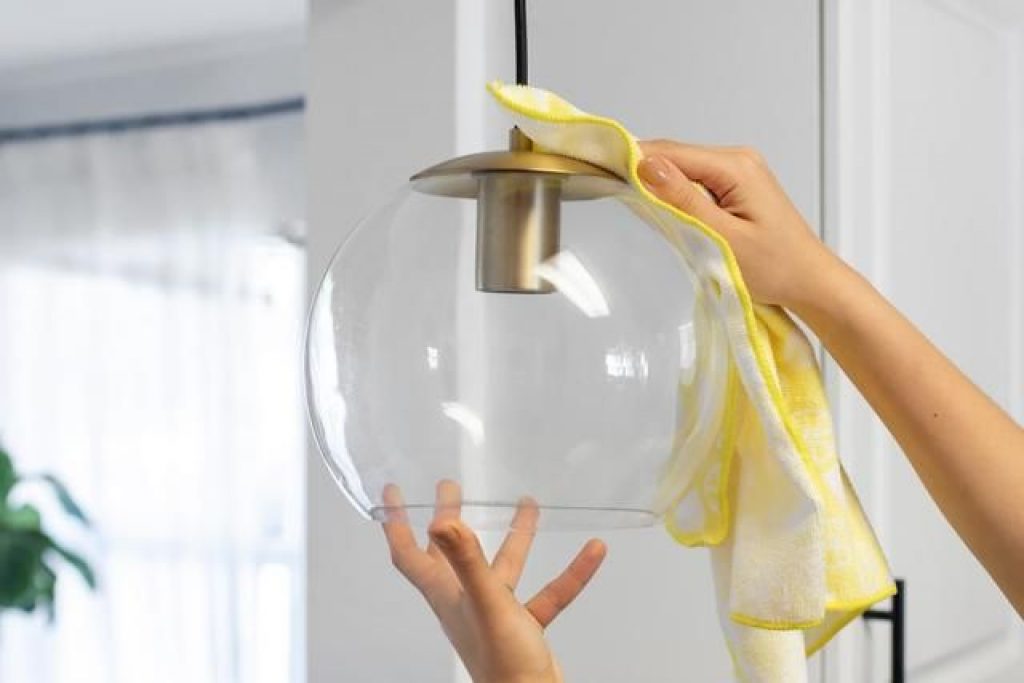
- Start by dusting from the top then working down all the way to the glass light shade. If your pendant has a canopy attached to the ceiling, start there first. Be sure not to get on your tippy-toes trying to reach things. If something’s too high for you to reach safely, use a microfiber duster with an extendable handle (or maybe just someone taller than you). After you’ve cleaned the canopy, move downwards cleaning the chain and cord, before finally dusting the glass shade itself from top to bottom.
- Wipe down the glass shade using a microfiber cloth that has been slightly dampened with water or vinegar. If after doing this your shade still has spots, then you can use your rubbing alcohol with a paper towel or Q-tips to get into any crevices or smaller areas. Don’t forget to clean on both the inside and outside of your shades.
- Finally, finish up by replacing your light bulbs. You should have glass pendant lights in your kitchen that look as good as new by this point. After you’ve given everything a few minutes to dry, carefully replace the bulbs, and step back to admire your job well done!

img source: scene7.com
How often you’ll need to clean glass pendants in the kitchen really just depends on you and your lifestyle. While some may need it once a season, for most others a thorough, complete clean twice per year is more than enough. It shouldn’t be a job that takes longer to finish, and the results will be well worth the effort. Enjoy!


