There are tons of uses for custom stickers. They are so versatile that both businesses and individuals can benefit from their use. But a relatively new trend is to design your own stickers.
As to how to do that, well we will talk about that in this article. So with all that said, let’s start.
Table of Contents
What Are Custom Stickers?
Before we explain the design process, we have to go over what they are. You’ve probably seen them all over town. Sticker from companies like stickerit.co is a brilliant marketing tool that can really catch the viewer’s attention. But in essence, a sticker is a type of label that comes with an adhesive side.
But in essence, a sticker is a type of label that comes with an adhesive side.
It is the adhesive property that gives them versatility, and the reason why you should consider making your own. So now that we’ve got that out of the way, let’s talk about how to make your own custom stickers.
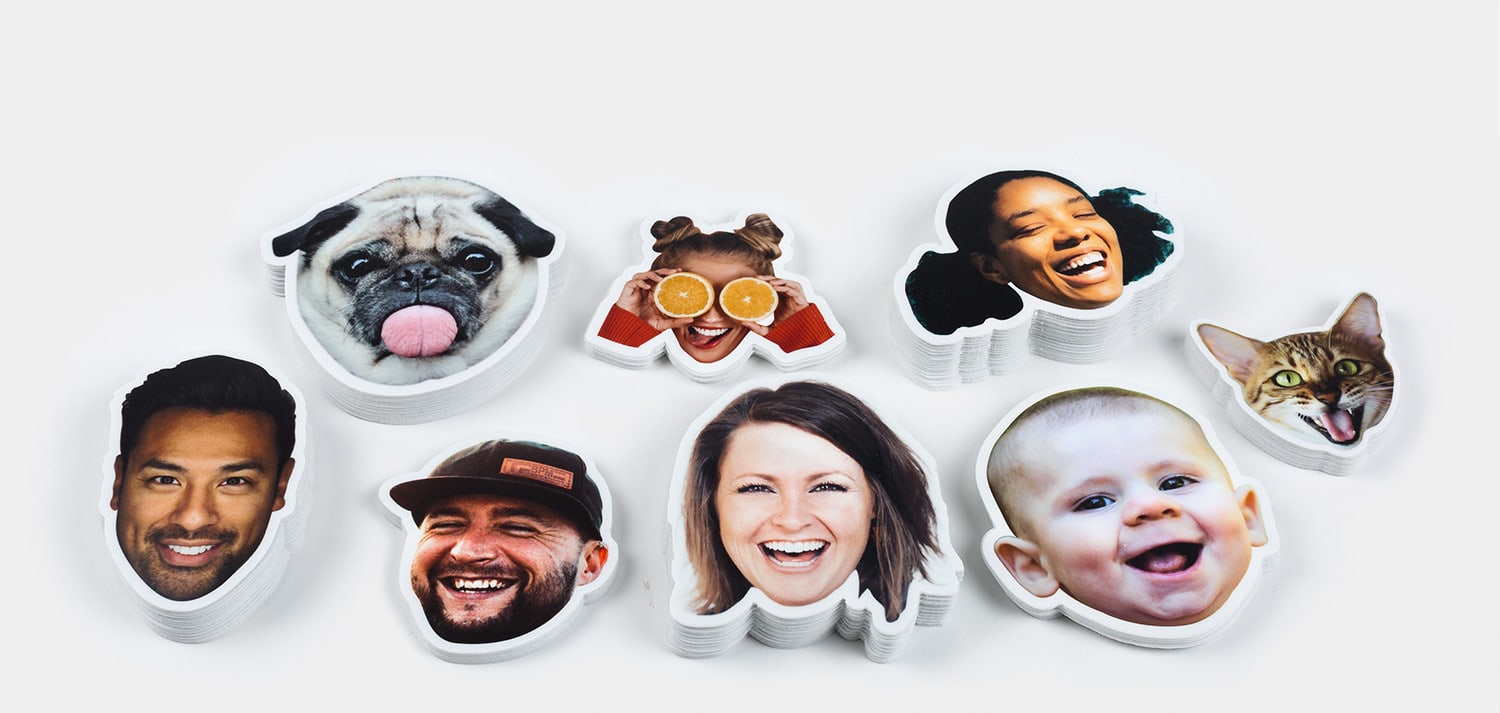
Step 1: Choosing the Size
img source: pinterest.com
The first step of the designing process isn’t to come up with the actual design but to determine the size of the thing. This is the smart part to start off with because it eliminates a few issues. For starters, it will tell you how much “size” you have at your disposal. This is helpful when the design process comes. By knowing exactly what size and shape you’re going for, you can modify the custom design to fit these parameters.
When it comes to shape, the go-to for making stickers are square or rectangle. It is due to the cost-effectiveness of square and rectangular shapes as to why you should probably go with either of these two shapes. The cost-effectiveness comes from the fact that you don’t need to do any additional cutting to fit the sticker into a custom shape.
Although you can choose another shape, it will most likely cost you more.
As for the size, well you’ve got plenty to work with as companies allow you to design stickers up to a few feet in size. So go for the size that most suits your needs.
Step 2: Choosing Colors
Every designer out there understands the importance of color. It is an essential part of the design process and one that will solve a few issues.
Choosing your colors before coming up with the actual design is yet another smart move to make. The reasoning behind it is that you can influence the viewer’s attention by going with a set of colors that are attractive and attention-seeking.
If used for marketing purposes, then this is absolutely essential. If you’re designing custom stickers for personal use, then you can skip this part.
But regardless of what you go for, you would want people to notice your creation. If used for marketing purposes, then we suggest you go over who your target audience is and come up with two or three colors that will easily grab the viewer’s attention.
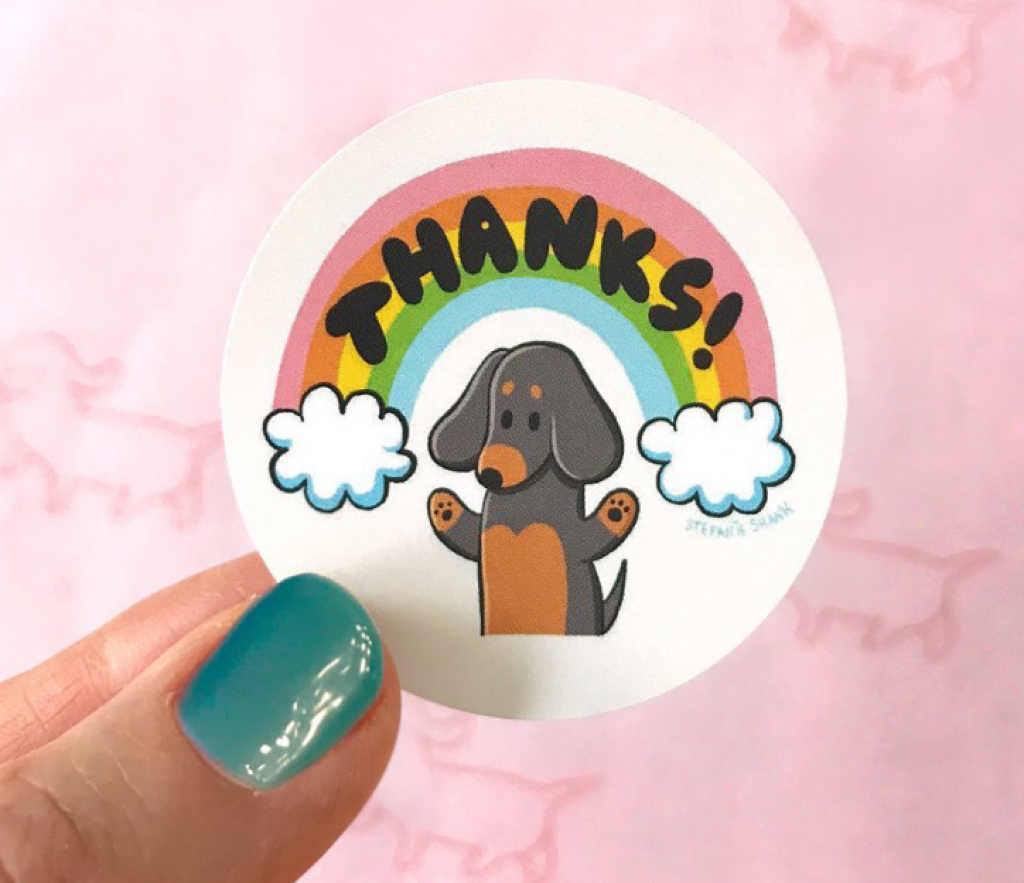
Step 3: The Design
img source: cloudinary.com
Once you’ve found your shape, size, and color palette, it’s now time to come up with the design. This is probably the most difficult part of the custom sticker-designing process. Very few people have an actual idea of what they want their creation to look like. When this is the case, feel free to browse the internet for ideas. Most modern sticker-making companies have a huge variety of templates for you to choose from. If you’re interested in that, make sure to visit www.customsticker.com and get the much-needed help to make your own stickers.
Step 4: Think Of Typography
In addition to color and the overall design, another factor to consider is typography. Typography is a visual art form that helps you arrange the text or letters to make them more visually appealing when displayed.
The choice of typography for many designers is the first place to start in the design process. And although typography might not be that important when designing stickers, it can be when designing other readable materials such as leaflets or flyers.
But that doesn’t mean you shouldn’t find the most suitable font and font size when making the stickers. As a matter of fact, typography can much easily grab people’s attention.
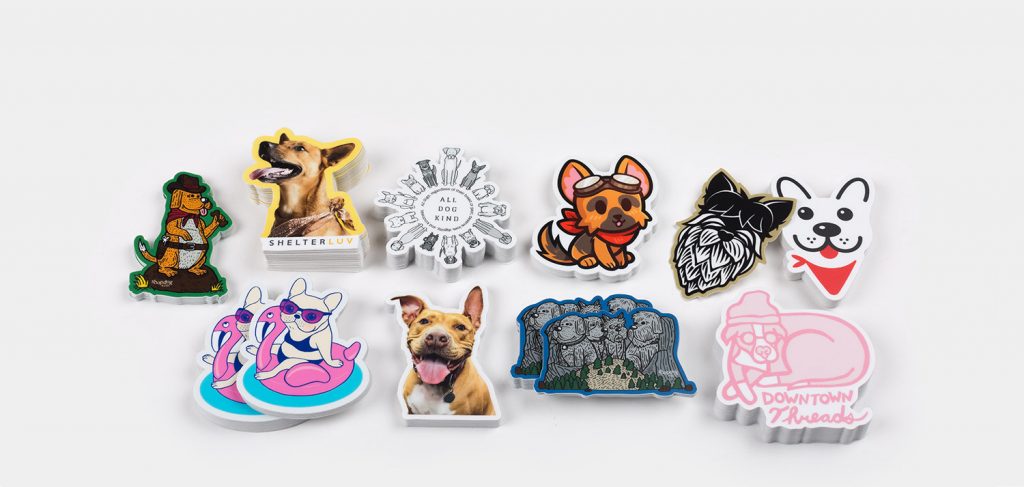
Step 5: Incorporate Your Brand

img source: sanjaydey.com
Lastly, all of these steps are meant to do one key thing; incorporate your brand onto the stickers. If you’re using them for marketing purposes, then people have to make the connection between who made the stickers and the sticker itself.
Every reputable brand has its own color palette, scheme, typography, etc. It’s of utmost importance that you somehow incorporate all of these factors and project them onto the sticker. And to help with that, simply go over the previous steps.
What Is the Point Of Custom Stickers?
Now that we’ve explained how to do it, it’s important that we ask the question why.
Apart from being unique marketing tools that grab people’s attention, custom stickers are printable and can be used in combination with a wide array of merchandise.
All of this ultimately does one thing; creates a strong impression about your business. Custom stickers can serve as the base of your next marketing campaign. Brands have created whole strategies around them.
And if designed perfectly, then people will most certainly see them and will want to know more about them, who made them, and what is their purpose.
We have been using custom stickers as marketing tools for decades. And for decades brands and businesses have been able to increase their visibility through them. So don’t underestimate them and instead start your custom sticker-making journey.

img source: cloudfront.net
Conclusion
Although there are multiple steps involved in the sticker-making process, you’ll quickly realize that coming up with a cool idea isn’t that hard. If you do struggle to come up with a sticker idea, then the internet can be of great use. The versatility and endless possibilities are what make them so attractive as marketing tools.
We hope that this article has helped you explain the sticker-making process