
The world of streaming is on the swing and it seems everyone and their grandmother is jumping aboard this train for the fun ride. As we managed to see the streaming world with a variety of platforms that are there to support you, is a nice way to earn a living whilst having fun in the process.
To do this seriously and effectively as possible you need some things. First of all, you need a platform you like, you feel safe and supported by. After that, you need to think about your content and what type of videos you are going to do and then you need some hardware and software to get you going.
Now, don’t get us wrong, not only do streamers need good software to remove background from videos, other professions may call for it as well. Video editors and wedding photographers for instance are usually in need of software that can help them cut out background from a previously recorded video.
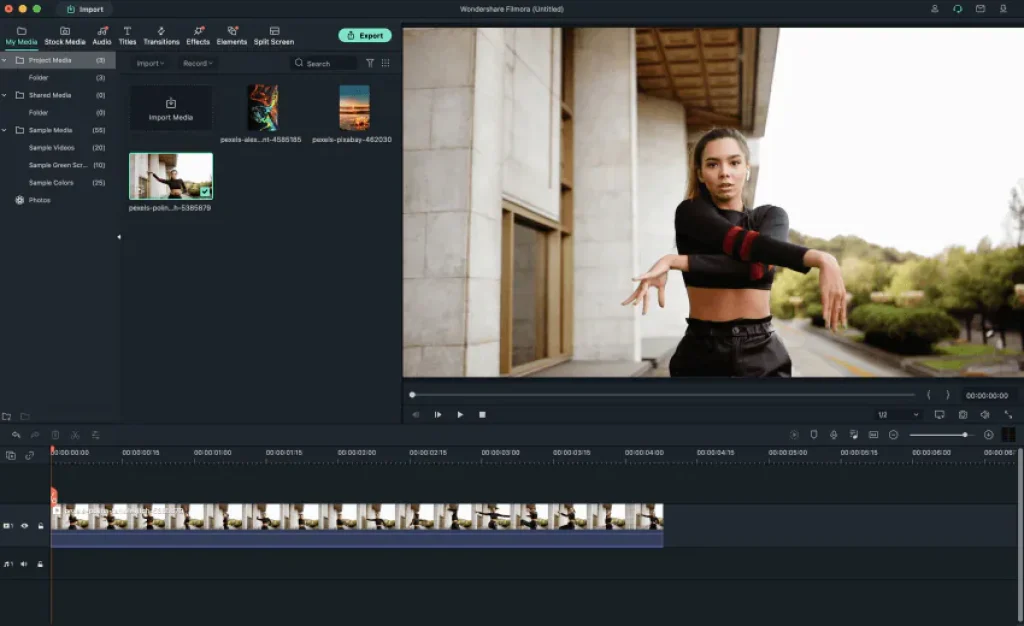
To make this as less bulky and as simple as possible, you will now find out how to remove your video background, without carrying your green screen always with you and getting annoyed when you forget it., after this, you will never need it anymore and part of that is thanks to Wondershare Filmora.
The best way to start this immediately is by firstly downloading OBS studio if you don’t have it already. This is free software available for Windows, macOS and Linux. This is the most popular software all streamers use when it comes to online content and it allows for so much of everything from accessibility to customizability without overcomplicating the process.
Another piece of free software, and yes, I forgot to mention that both of these are free to use so you don’t have to think about money at all unless you see some premium features you like. The second piece of free software is Zoom. Yes, it is the overly popular conferencing app that we all know about, but it also has some built-in features that turned out to be a fantastic background removal tool ever.
Now let’s try and explain how you utilize these two and not be too technical. Again, if anything from here sounds too complicated you always have a bunch of online tutorials that can graphically help you find your way.
The first thing to do is open your video file and bring it to full screen. After that launch OBS and scroll down to the sources section and click the plus sign. From there you will choose window capture, click OK on the next window and search for your window with your media player. There is a tab beneath that called capture method and you need to select Windows Graphics capture. After that, you will see your video from the video player on your OBS. Confirm everything and get back to the original OBS studio window on the right-hand side you will see an option saying Start Virtual Camera. Click on that to send the feed from OBS to Zoom which we will use to get rid of the video background.

Source: vodafone.de
In the Zoom app, all you need to do is to click on New Meeting and if you get the prompt to join audio click on the Join with computer audio. Find the start video meeting control and click on a little up arrow beside it to choose the OBS Virtual camera. After you have done that then click on the start video button. You will see your video from OBS with that annoying background that we will now get rid of.
On that start video button click on that up arrow again and in the popping, menu clicks the choose a virtual background. It will take you to a new window where you can customize the backgrounds and filters you want. You have a selection of default ones with the option to import, add and choose others as well. You can opt for static or dynamic backgrounds, you can import other videos or pictures and set those, Zoom lets you have fun with this. Who would’ve guessed?
Now when you choose your background, and filters and after you are done playing with the app you will want to save that video. To do that you need OBS again and you need to open a second instance of OBS to record this video with the new background. After you launched the OBS you need to create a new scene and give it a name, or don’t it is all up to you. What you do next is move a bit to the right and add the scene again by clicking plus sign and choosing window capture. This time you need to select the window you want to capture from and the one you will choose now is Zoom meeting. The capture method is the same as in the previous step so just repeat that and you are all done.

Source: wironal.com
Start capturing and admiring your expertise. Now to some, this may seem a bit simple but it isn’t writing and reading about these steps seems a lot more complicated than it is so just search up any tutorial for this.
Another thing to mention is that there are other software and other apps, that can do all this in one app, but you would have to have a bit more advanced knowledge of video editing. There are some steps, there is some cropping, editing and other stuff involved but all in all they can do the job as well. The steps we wrote about here are, at least in our opinion a lot simpler and easier for beginners, that can go toward better apps later on as they figure out how certain things operate.
The last thing we want to advise is that if you are just starting out and if you are a beginner streamer or video editor try and utilize all the free software you can and as you learn the ropes and progress forward go for more quality and pro apps that are paid to use. There are awesome apps and tools within them that all your videos and photos can look like a professional made them.
![The Best Way to Remove Video Background [2024 Updated]](https://websta.me/wp-content/uploads/thumbs_dir/shutterstock_172537049-rnz4ptjj9c0ogepovy9o56e5dm1y73bmim49vk4e2k.jpg)
![The Best Way to Remove Video Background [2024 Updated]](https://websta.me/wp-content/uploads/thumbs_dir/Dedicated-Servers-OVH-rnz4pslp2hze4sr21fv1komos86kze7w6hgsea5s8s.jpg)